Alarm bells. You’ve found mold. Not all mold is a death sentence, and for most, it’s a matter of having the right cleaning regimen. Instead of threatening to move, let’s go through some ways you can successfully rid your walls of different kinds of mold and get back to living your life.
Identifying Mold
Not all mold is created equal. In fact, every house probably experiences some type of mold because you can’t always keep your home completely sterile
Here are some common types.
- Aspergillus: commonly found on home air conditioning systems, this type of mold is often associated with allergies and “sick building syndrome.”
- Cladosporium: often found on painted surfaces, especially the back of toilets where moisture is always present. It’s an opportunistic mold that can stain paint with black or green “peppery” spots.
- Red mold species: mostly found outside, but can also take advantage of grime and bacteria indoors.
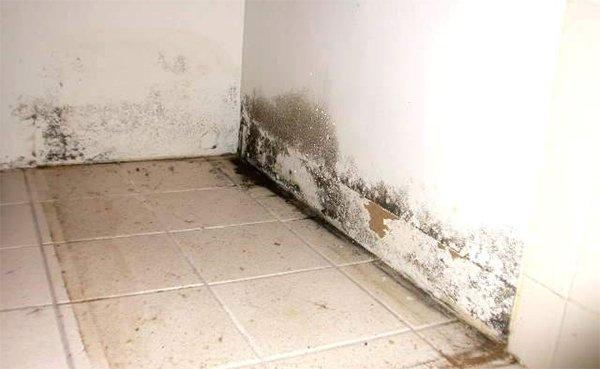
- “White” mold: the early stage of most molds, this type can be easily removed.
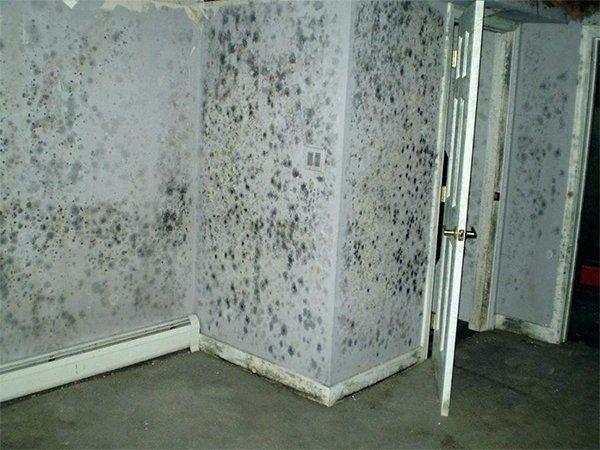
- Black mold: It has a terrible reputation, but this type of mold is treatable just like anything else. It often grows in houses with excessive water damage.
Before You Start
Removing mold can be dangerous for your respiratory system, so it’s crucial that you take precautions before you start. If it’s possible to ventilate the room, do it. If you can’t, keep doors open to allow some air flow.
Wear protective gear such as gloves and a face mask. If you’re removing large amounts of mold, eyewear can be helpful as well. Mold is rarely dangerous, but the “dust” created by removal can cause respiratory allergies.
Cleaning products can also cause skin and respiratory reactions. Be sure to read all cleaning solution labels and never mix bleach and vinegar together. The acid in the vinegar releases toxic chlorine gas, something far more dangerous than your mold problem.
Cleaning Basics – Vinegar
Vinegar is a powerful tool for killing mold spores and preventing them from coming back.
You’ll need:
- full strength white vinegar
- Spray the vinegar directly on the mold and allow it to come close to dry.
- Wipe the area gently, so you don’t risk spreading the stain around.
- Repeat until your mold patch is gone.
Here you can choose the best air purifier for mold.
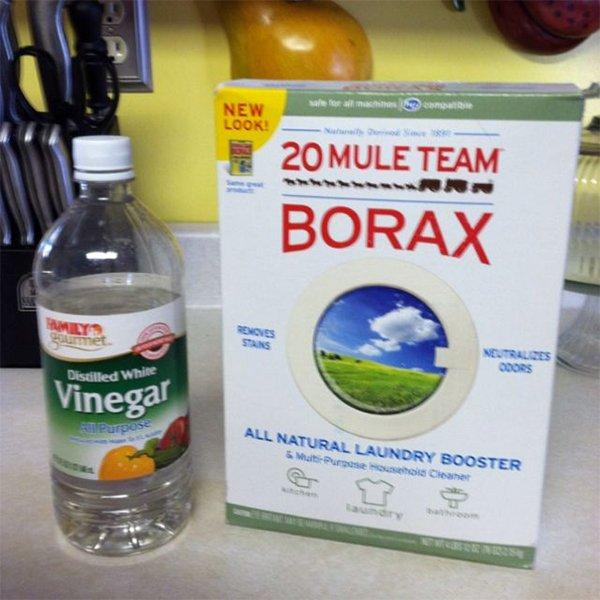
Cleaning Basics – Vinegar And Borax
Used together, they provide more scrubbing power. If your mold problem is tougher than just vinegar, or you’ve allowed it to sit for long enough to stain your surface, try this method.
You’ll need:
- 1/4 cup white vinegar
- 2 tablespoons borax
- 2 cups hot water
- scrub brush
- Mix the ingredients together and add to a spray bottle.
- Spray the affected area and allow to sit for five minutes.
- Gently begin to scrub the area using a circular motion.
- Wipe the area down with a clean, damp cloth.
- Repeat until the area is cleaned to your satisfaction.
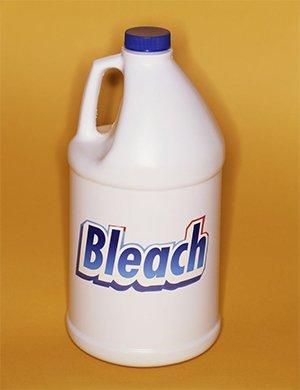
Stain Removal – Bleach
Bleach doesn’t actually kill mold. Instead, it removes the color, giving you the idea that you’ve gotten rid of the mold. It’s free to regenerate and continue to drive you crazy.
Instead of using this as your first step, use bleach to sanitize the area of other types of bacteria attracted to the mold and to remove the discoloration.
You’ll need:
- chlorine bleach
- water
- scrub brush or rag
- Mix one part bleach to three parts water.
- Test the solution in an inconspicuous area and allow to sit for a few hours. If there’s no damage to your surface, move forward.
- Spray the stains with the bleach solution and gently scrub. The stains should begin to lighten quickly.
- Wipe the area clean with a damp cloth. Be sure to use a cloth you don’t care about because the bleach will remove color from it too.
Maintaining Your Walls
Black mold, if it’s allowed to grow, usually requires professional help because of the extent of the damage. Other types of mold should come up with the steps above.
The biggest thing you can do is remove excess moisture from your home’s problem areas. Investing in a dehumidifier, or leaving ventilation open (such as the door to the bathroom) can go a long way to preventing mold in the first place. Also, handle leaks right away to keep moisture from attracting mold over time.
If you can’t remove the humidity, or removing it would be a nightmare, keep your spray bottle of vinegar around to spray down your walls regularly. This is helpful in bathrooms with no ventilation fan and where running a dehumidifier would be an exercise in futility.
Checking your home insulation can also help. Not all moisture issues are caused by poor insulation, but condensation that develops around areas of rapid temperature changes can attract mold over time. Redo any insulation that’s fallen or build up insulation in areas where insufficient amounts are causing problems with condensation.

Final Thoughts
If mold comes back, don’t be alarmed. Mold is opportunistic, and it’s impossible to keep all the symptoms at bay forever. A little maintenance goes a long way in rooms where humidity is always an issue. Checking potential problem areas can also help catch mold before it becomes a huge issue.
Remember that bleach isn’t going to kill the mold; it just masks the problem. You have to kill the mold before you can use bleach to sanitize the area and remove stains. Once you’ve killed the mold, however, you can begin to reverse the effects using bleach.
Mold isn’t the end of the world. You’ll have your pristine walls back in no time.
What’s your most common area for mold issues? How are you tackling the problem? Let us know in the comments below.
Thanks for the tips. Remember – It’s important to clean your ducts often!