You’ve just gotten your new car, and the leather seats are your favorite part. Or maybe you’ve had your car for a while, and your leather seats are looking a little tired. Whatever the reason, you need a cleaning system in place fast to keep those seats looking their best.
We’ve got your ticket for getting (and keeping) those seats looking their best. Whether you’re just getting started with your leather seats or you’ve neglected them for a while. Let’s break it down.
Before You Start
The leather is durable and ages really well, but it’s better if you spend a little time all along keeping it clean and conditioned. If you wait until things are a situation, you may not be able to restore leather to its full glory. Get into a routine with your leather seats that keeps them clean all along, and you’ve won half the battle.
Before you get started, make sure you have a daily (or every other day) simple wipe down on your schedule. Find the most used areas such as the driver’s side or passenger side, and focus your efforts there.
You should never use anything abrasive to clean your leather because you can damage the luster and surface of your leather. Everything must be gentle and geared toward conditioning and not just cleaning.
One last thing. Car leather isn’t like other types of leather. Make sure you’re using a formula specifically for the leather seats in your car and not some other kind of leather, or you could end up with a greasy film on your seats.
Basic Cleaning – Perforated Seats
Check your seats carefully for any perforated sections. Make sure you don’t get any cleaning solution or water down into the holes, or you could have problems with mold and mildew.
You’ll need:
- leather care wipes
- vacuum
- Carefully vacuum the area so that it’s free of dirt and debris. Use the brush attachment to lift dirt out of the perforations gently but be careful not to scrub.
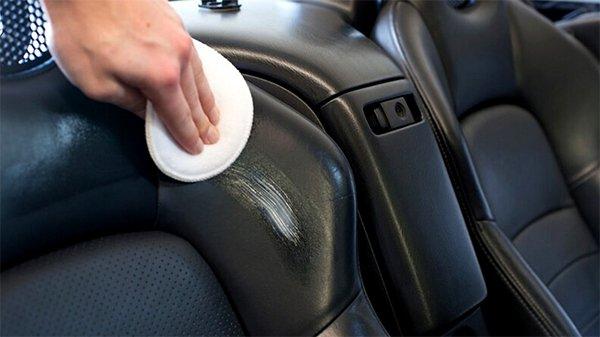
- Wipe the area down with your favorite leather care wipes.
- Gently wipe off any excess with a soft, dry cloth.
Basic Cleaning – Surface Dirt
For cleaning new leather with no grime build up.
You’ll need:
- commercial cleaner
- homemade cleaner (one part white vinegar and two parts linseed oil)
- soft cloth
- vacuum
- Vacuum the seats to remove any large dirt and debris particles.
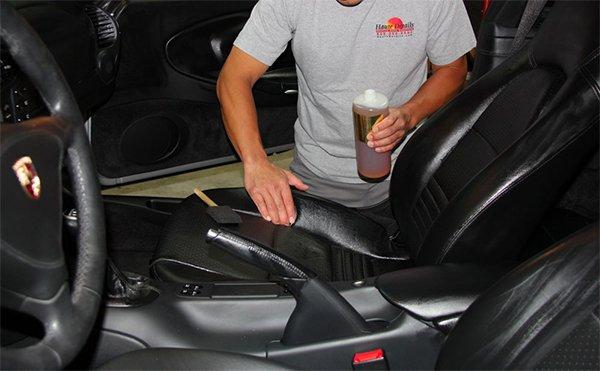
- Spray the cleaner on the cloth and gently wipe down the seats.
- Repeat until your seats are conditioned and cleaned thoroughly. Be careful not to leave any product in a pool or drip on your leather seats.
Basic Cleaning – Deep Grime
If your non-perforated seats have deeper grime, you may need to up the ante a bit.
You’ll need:
- your commercial or homemade cleaner
- soft bristled brush
- soft, dry cloth
- Spray your cleaner onto the bristled brush until it’s just damp.
- Gently (please gently) scrub the leather.
- Begin to wipe the area with your soft cloth to help it dry and to wipe up the grime you’ve agitated with the brush.
- Repeat until you feel your seats are the level of clean you need.
Post Cleaning – Conditioning
Many cleaners have some conditioners built into the formula, but it’s useful to condition using a product specifically for it. Be sure to read the directions for any product you decide to use.
You’ll need:
- the best leather conditioner for cars
- soft cloth
- Test a small, inconspicuous spot on your seats to make sure the product doesn’t discolor the leather. Also, you can decide if the finish is satisfactory.
- If the product is satisfactory, put a small amount of conditioner on your seat and begin to work it into the leather with the soft rag.
- Be sure not to leave any product on the surface of the seat, or it may leave a greasy film. If you aren’t sure, go back over the seats with a clean, dry cloth to wipe up any excess.
Maintaining Your Leather Seats
In addition to regular cleaning and conditioning, there are some things you should do to prevent stressing the leather on your seats.
Park in the shade: Sun is harsh and one of the worst offenders for ruining the condition of your leather. When you park, seek out shade or use a car cover to prevent the worst of the sun’s UV rays from drying and cracking your leather seats.
Use a seat cover: If you own pets or have children, it may be easier to cover your seats than try to clean them as often as you need. Seat covers made of curable plastic or vinyl that covers the majority of the seat and down in the crevices.
Wipe your seats regularly: No seriously. This is the single most important step. If you wait until your seats look grimy and are covered in dirt, chances are you won’t be able to save them. If you don’t take care of them regularly, they could end up cracking beyond repair.
Final Thoughts
We can’t overstate the need for having a regular cleaning and conditioning schedule for your leather. Do as much as you can to protect the seats from sun and dirt, but you must clean them regularly to keep the leather supple and extend the life of your seats. As long as you have a plan in place for upkeep, they should have a nice, long life.
Are your leather seats new or have you been ignoring them for a while now? What’s your usual cleaning regimen? Tell us about it in the comments below.